Description
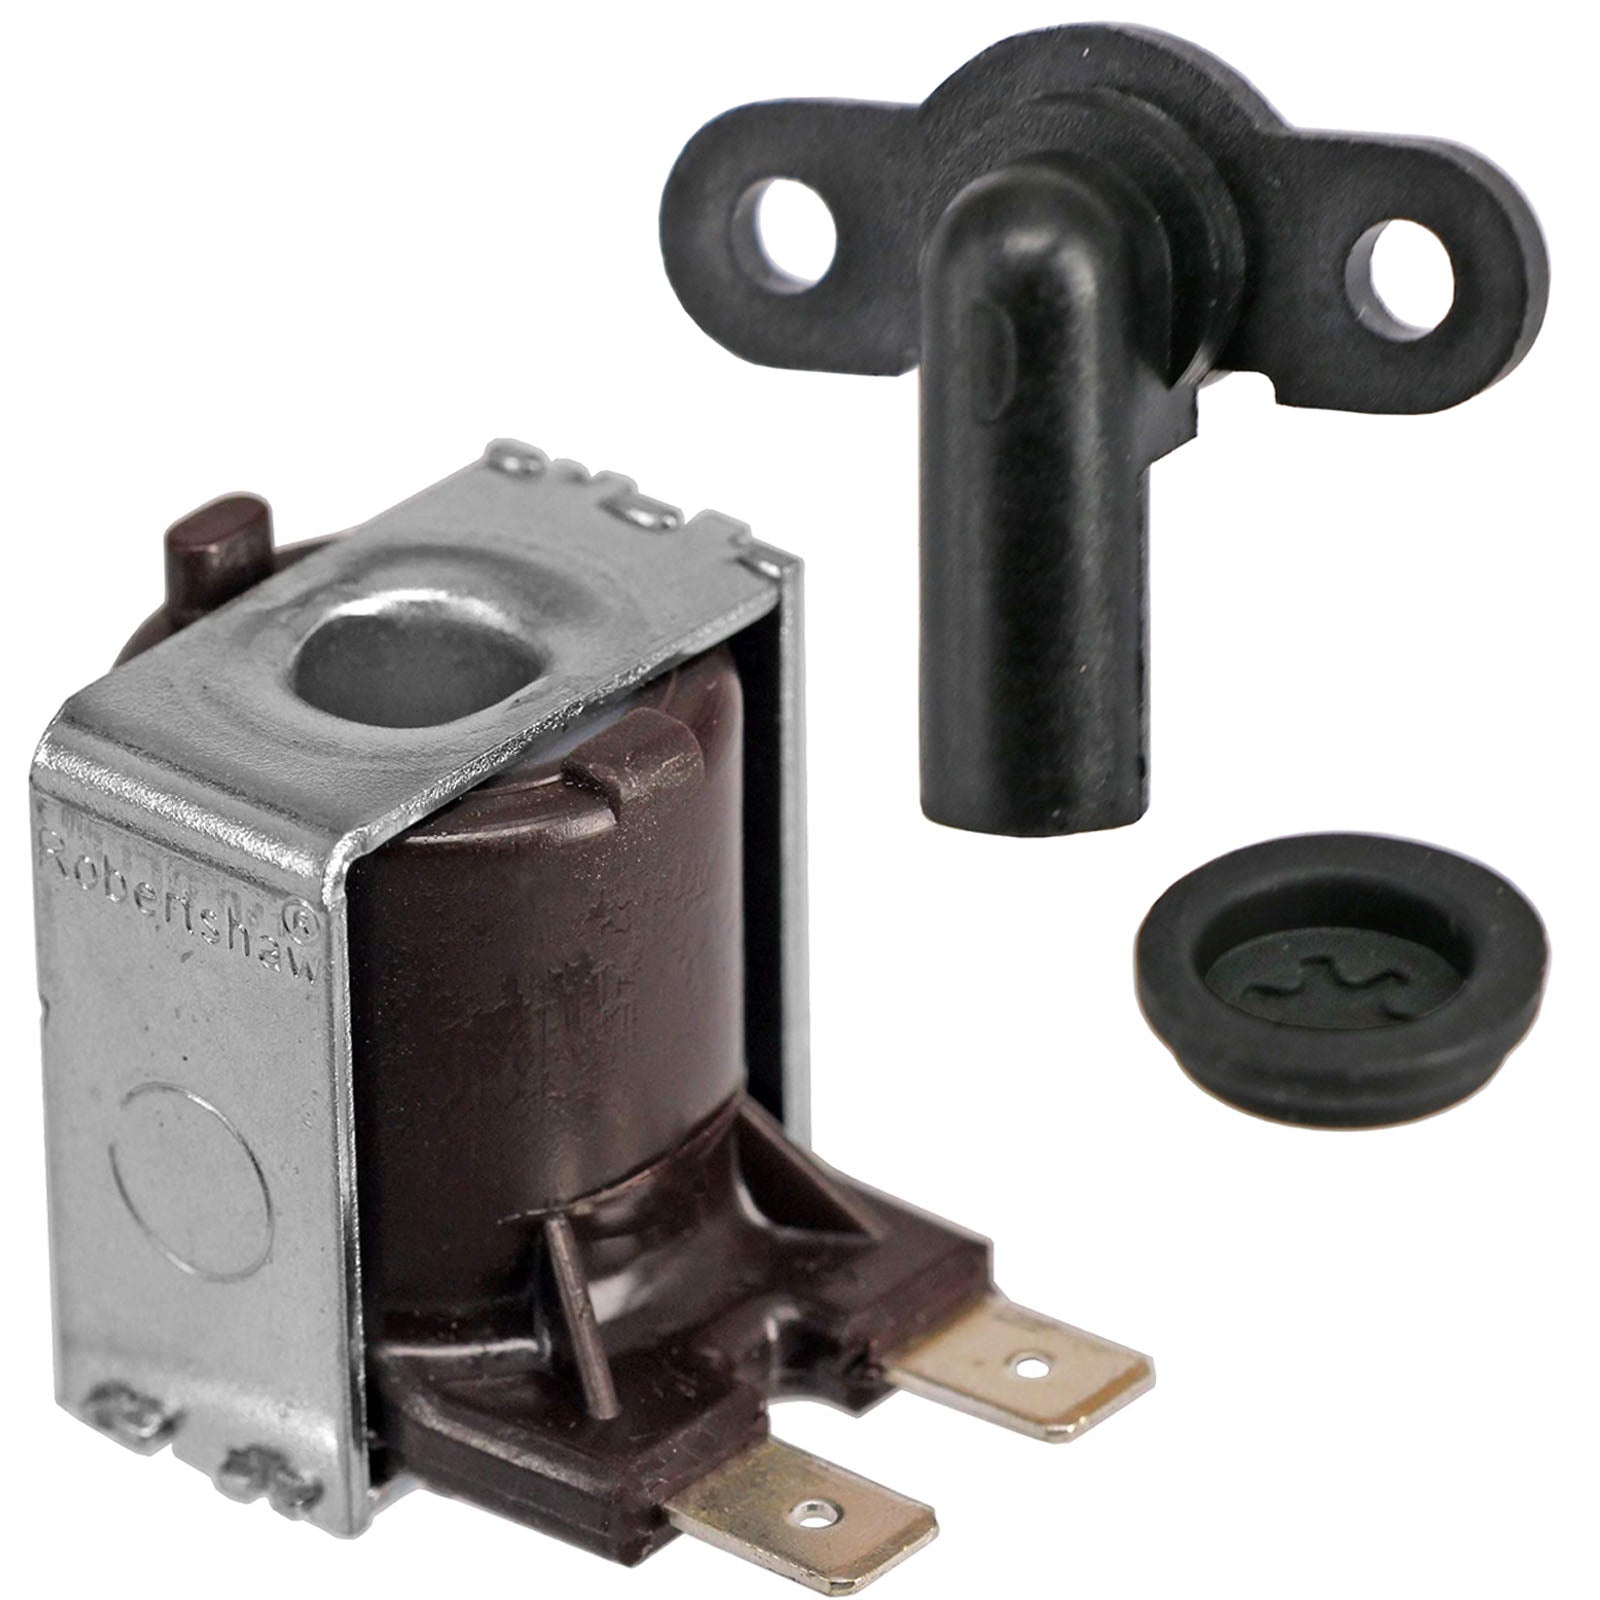
Solenoid Coil, Pressure Relief Device (PRD) + Burst Disc Seals for TRITON Electric Shower
Brand new, premium quality fully compatible replacement solenoid coil, pressure relief device & replacement burst disc seal kit for your Triton electric shower.
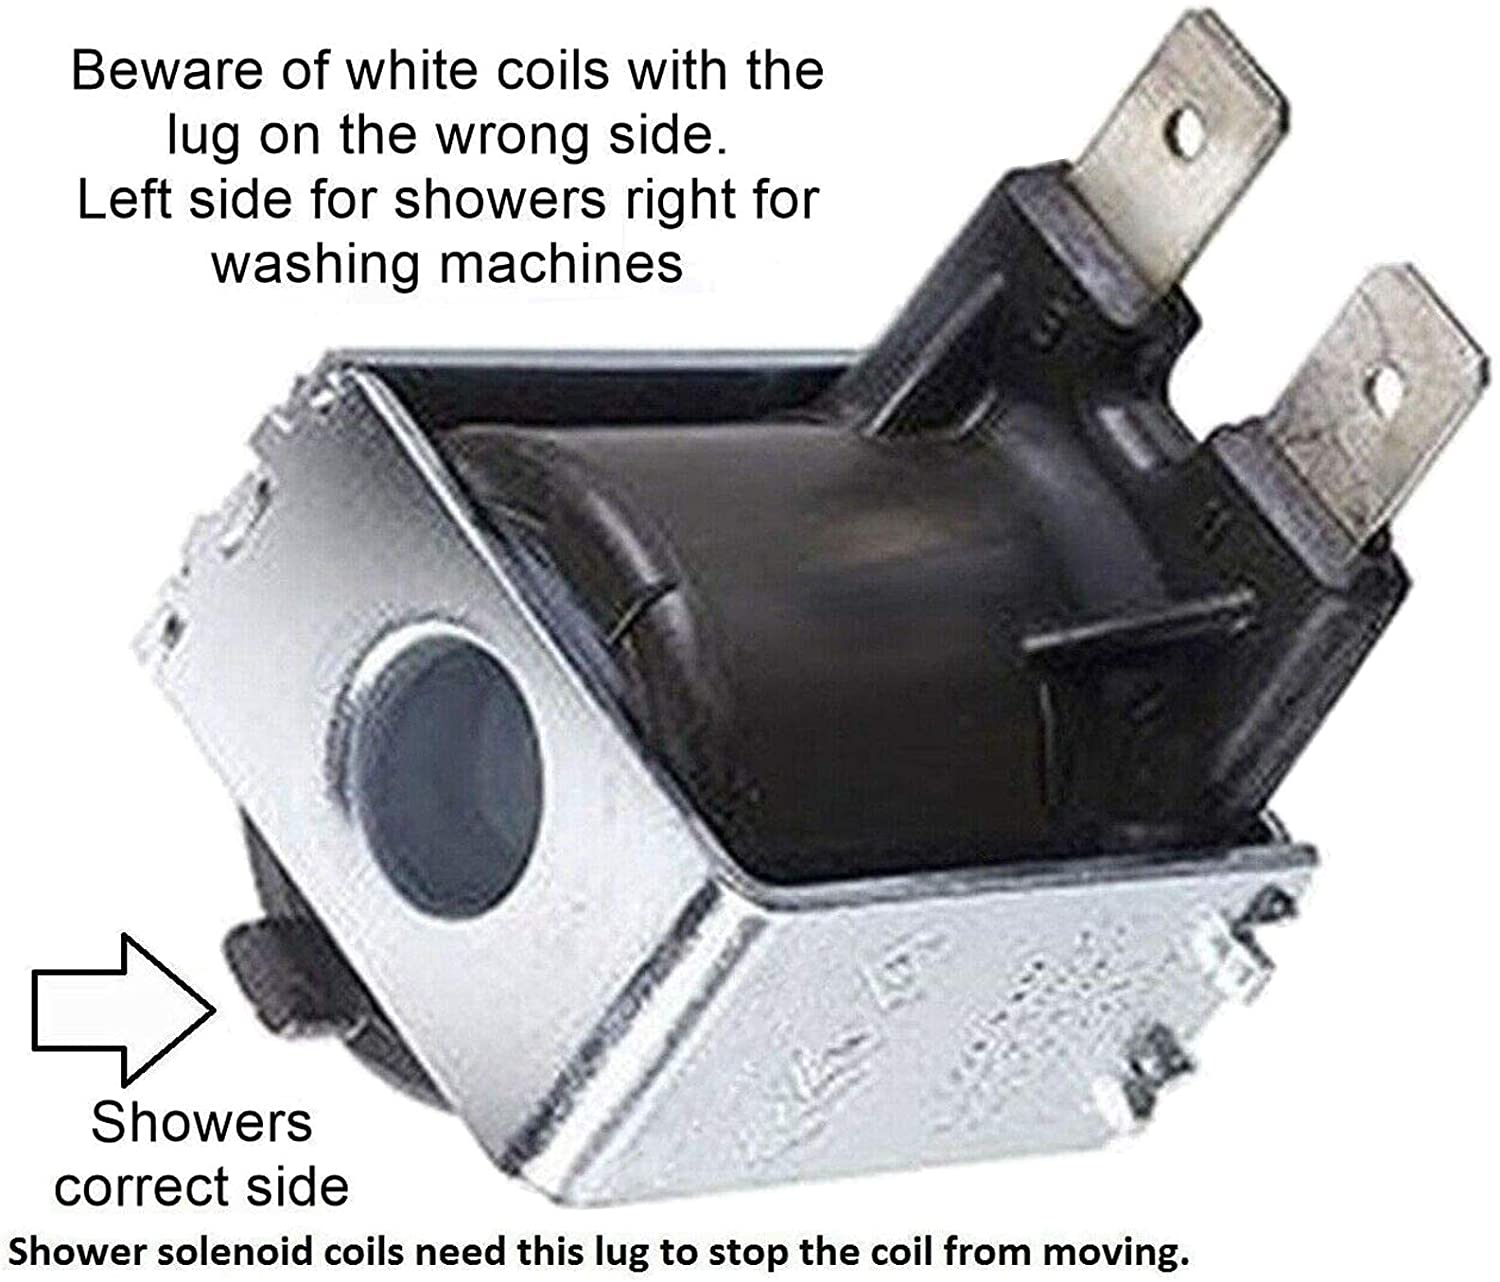
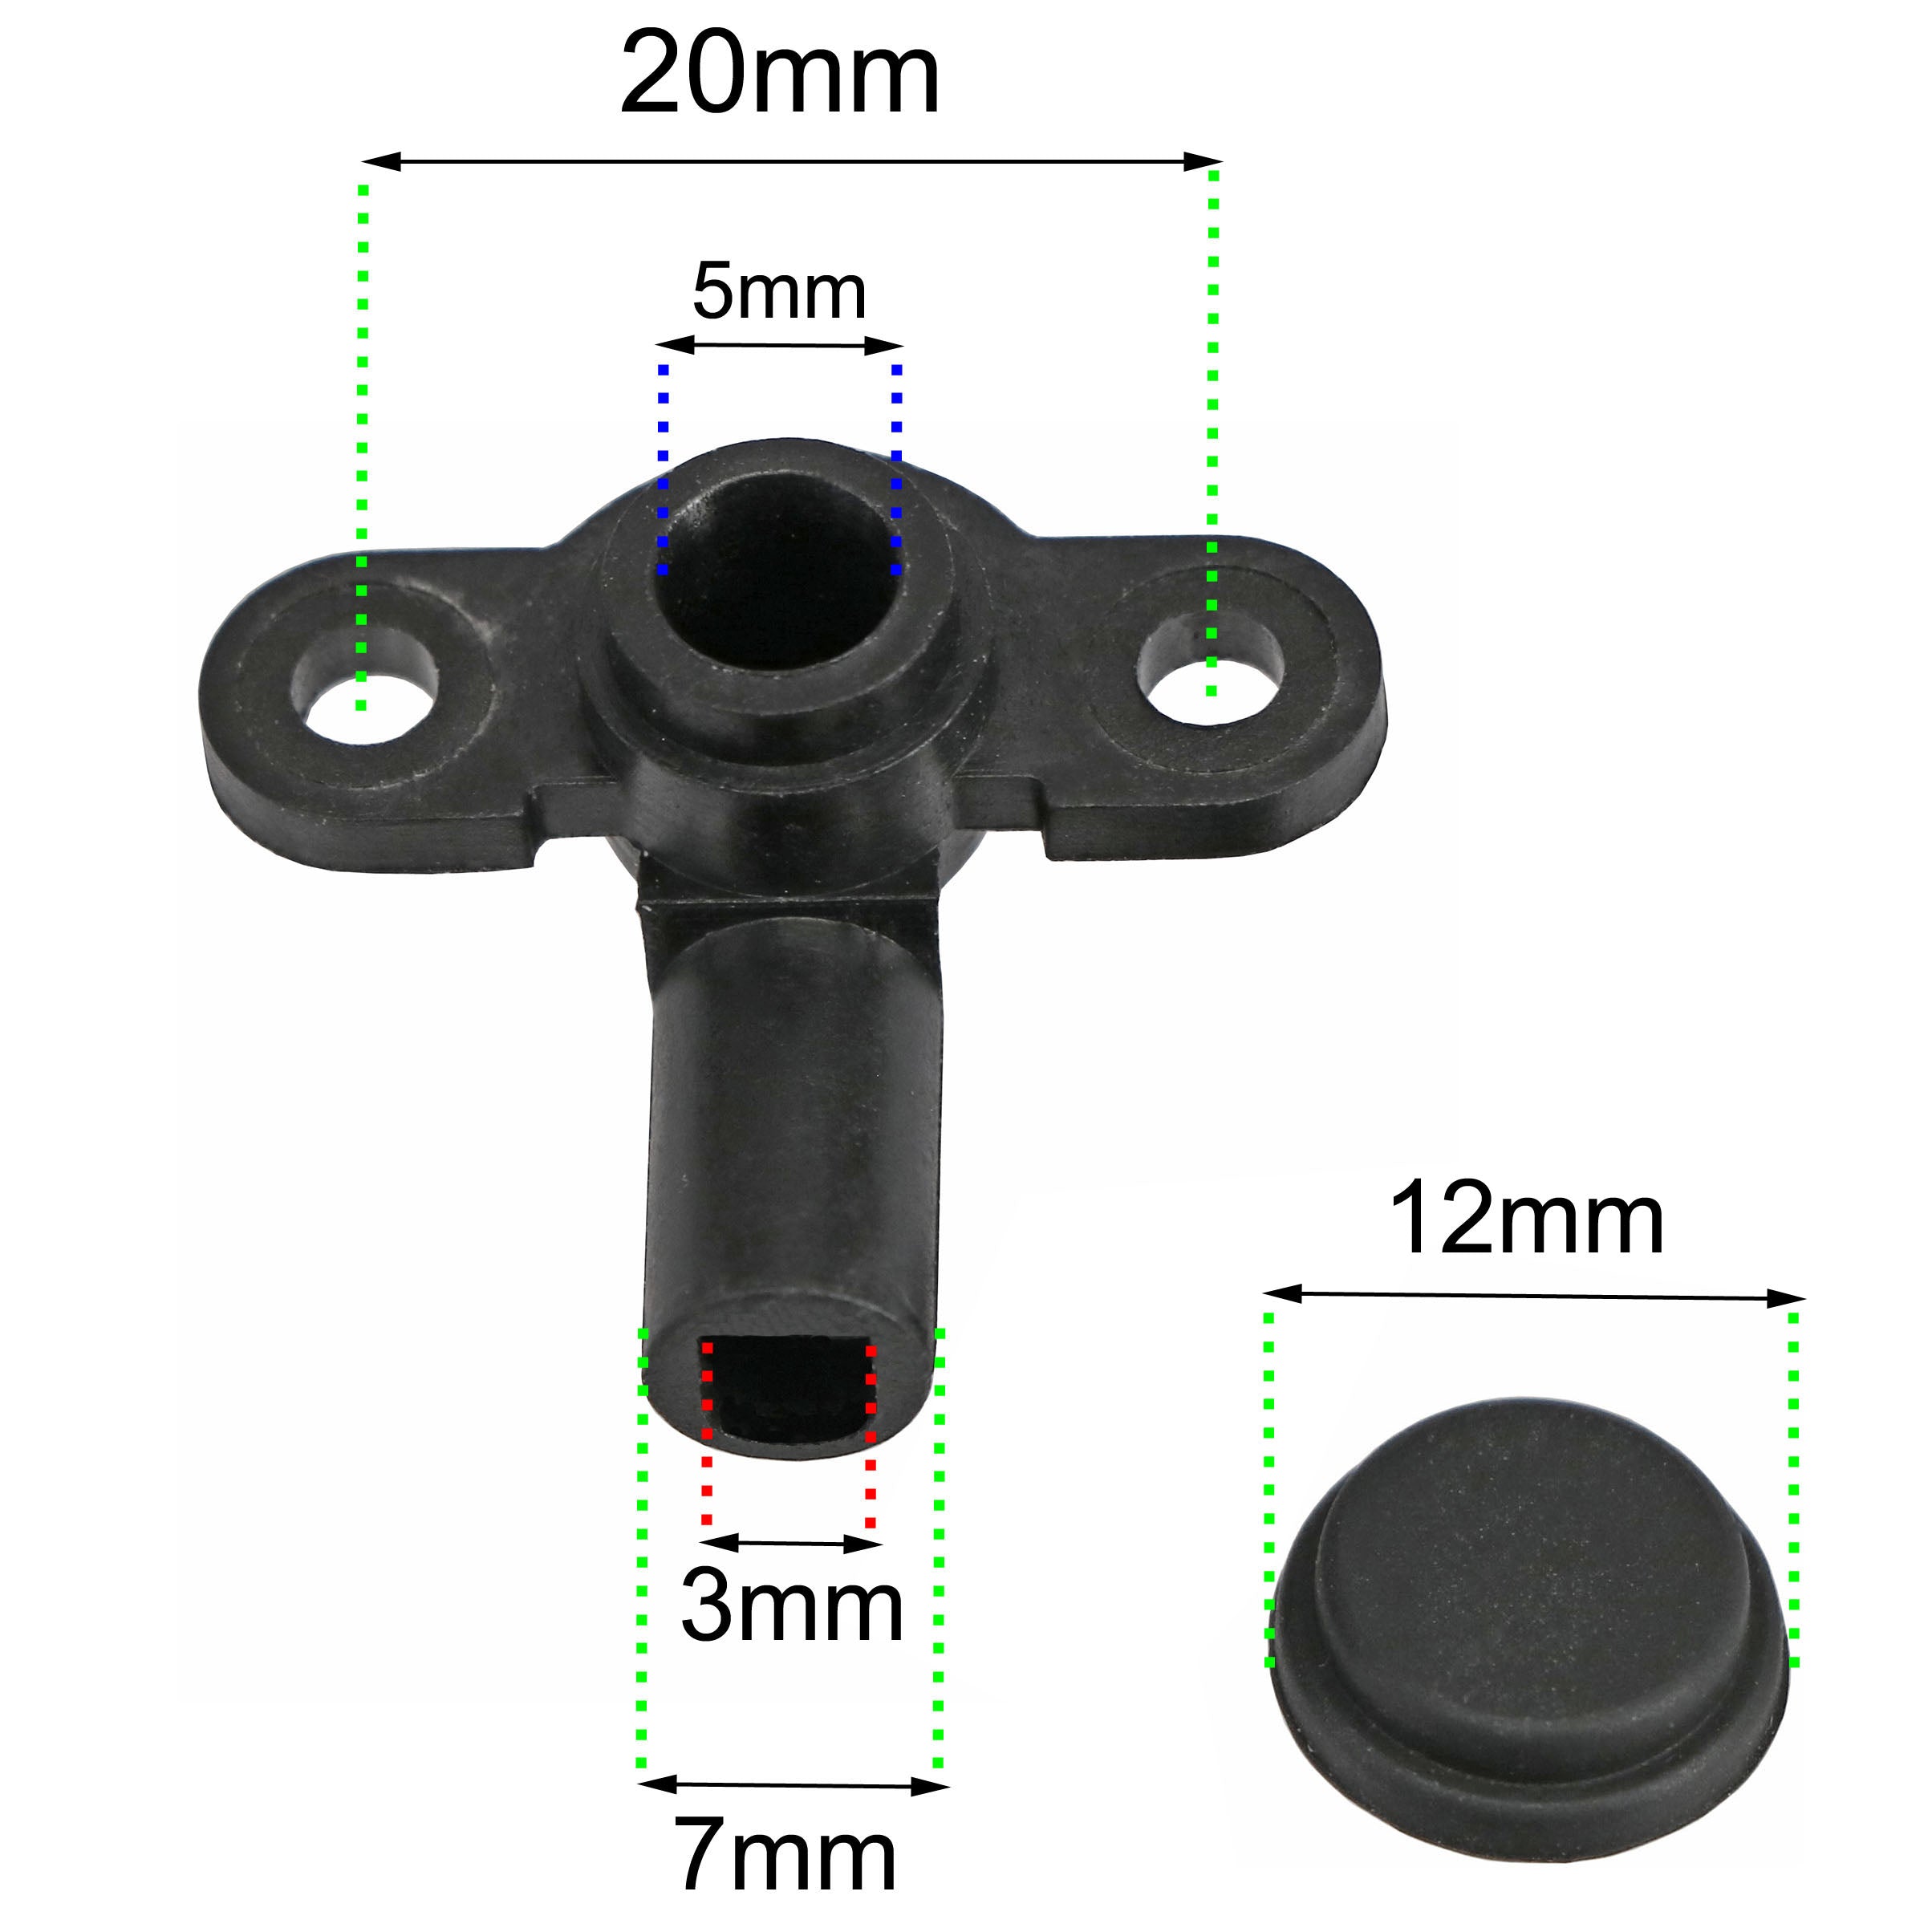
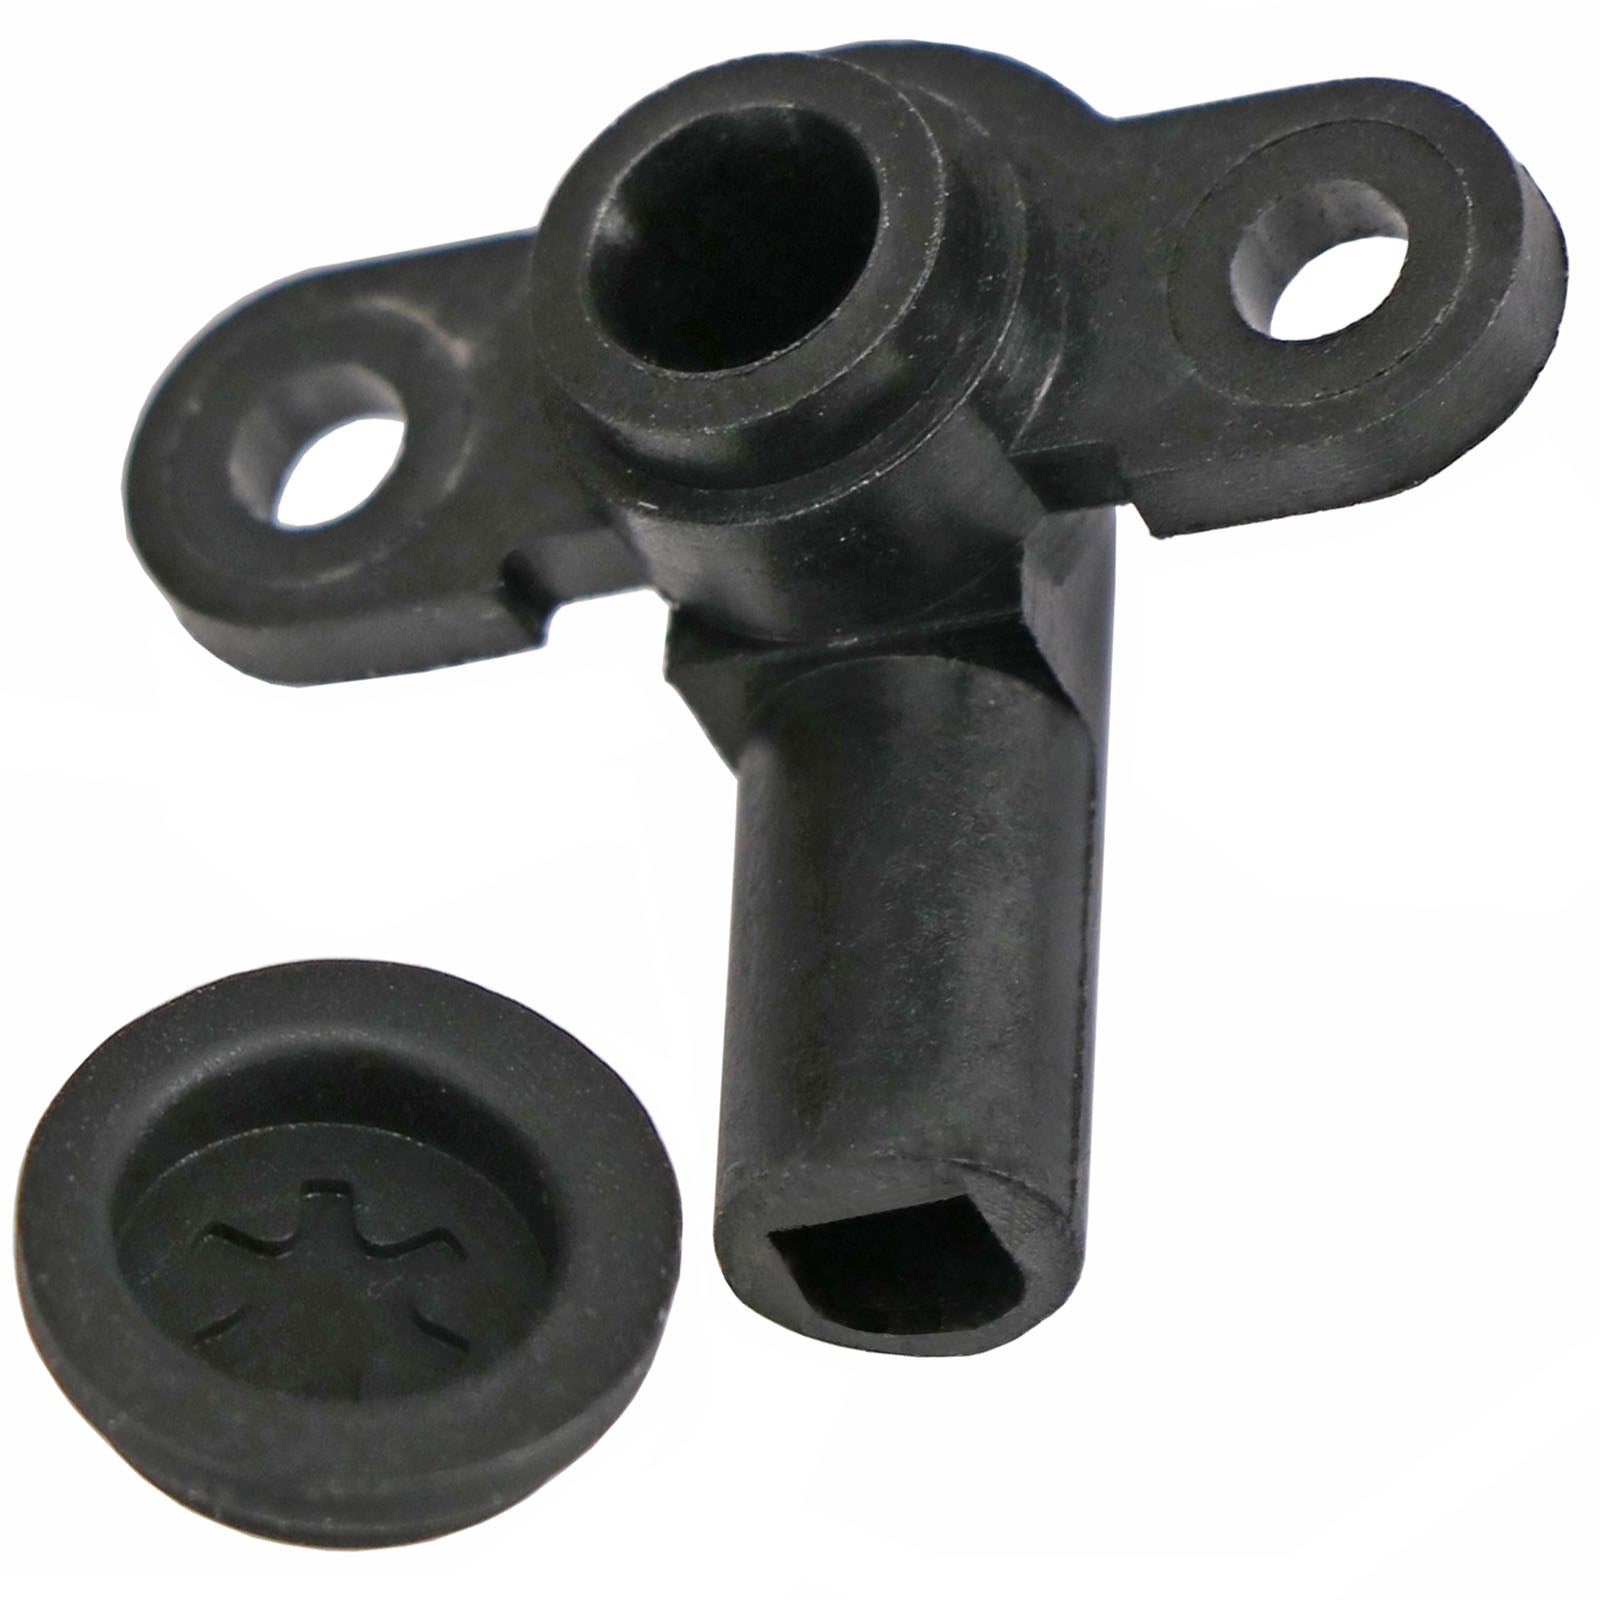
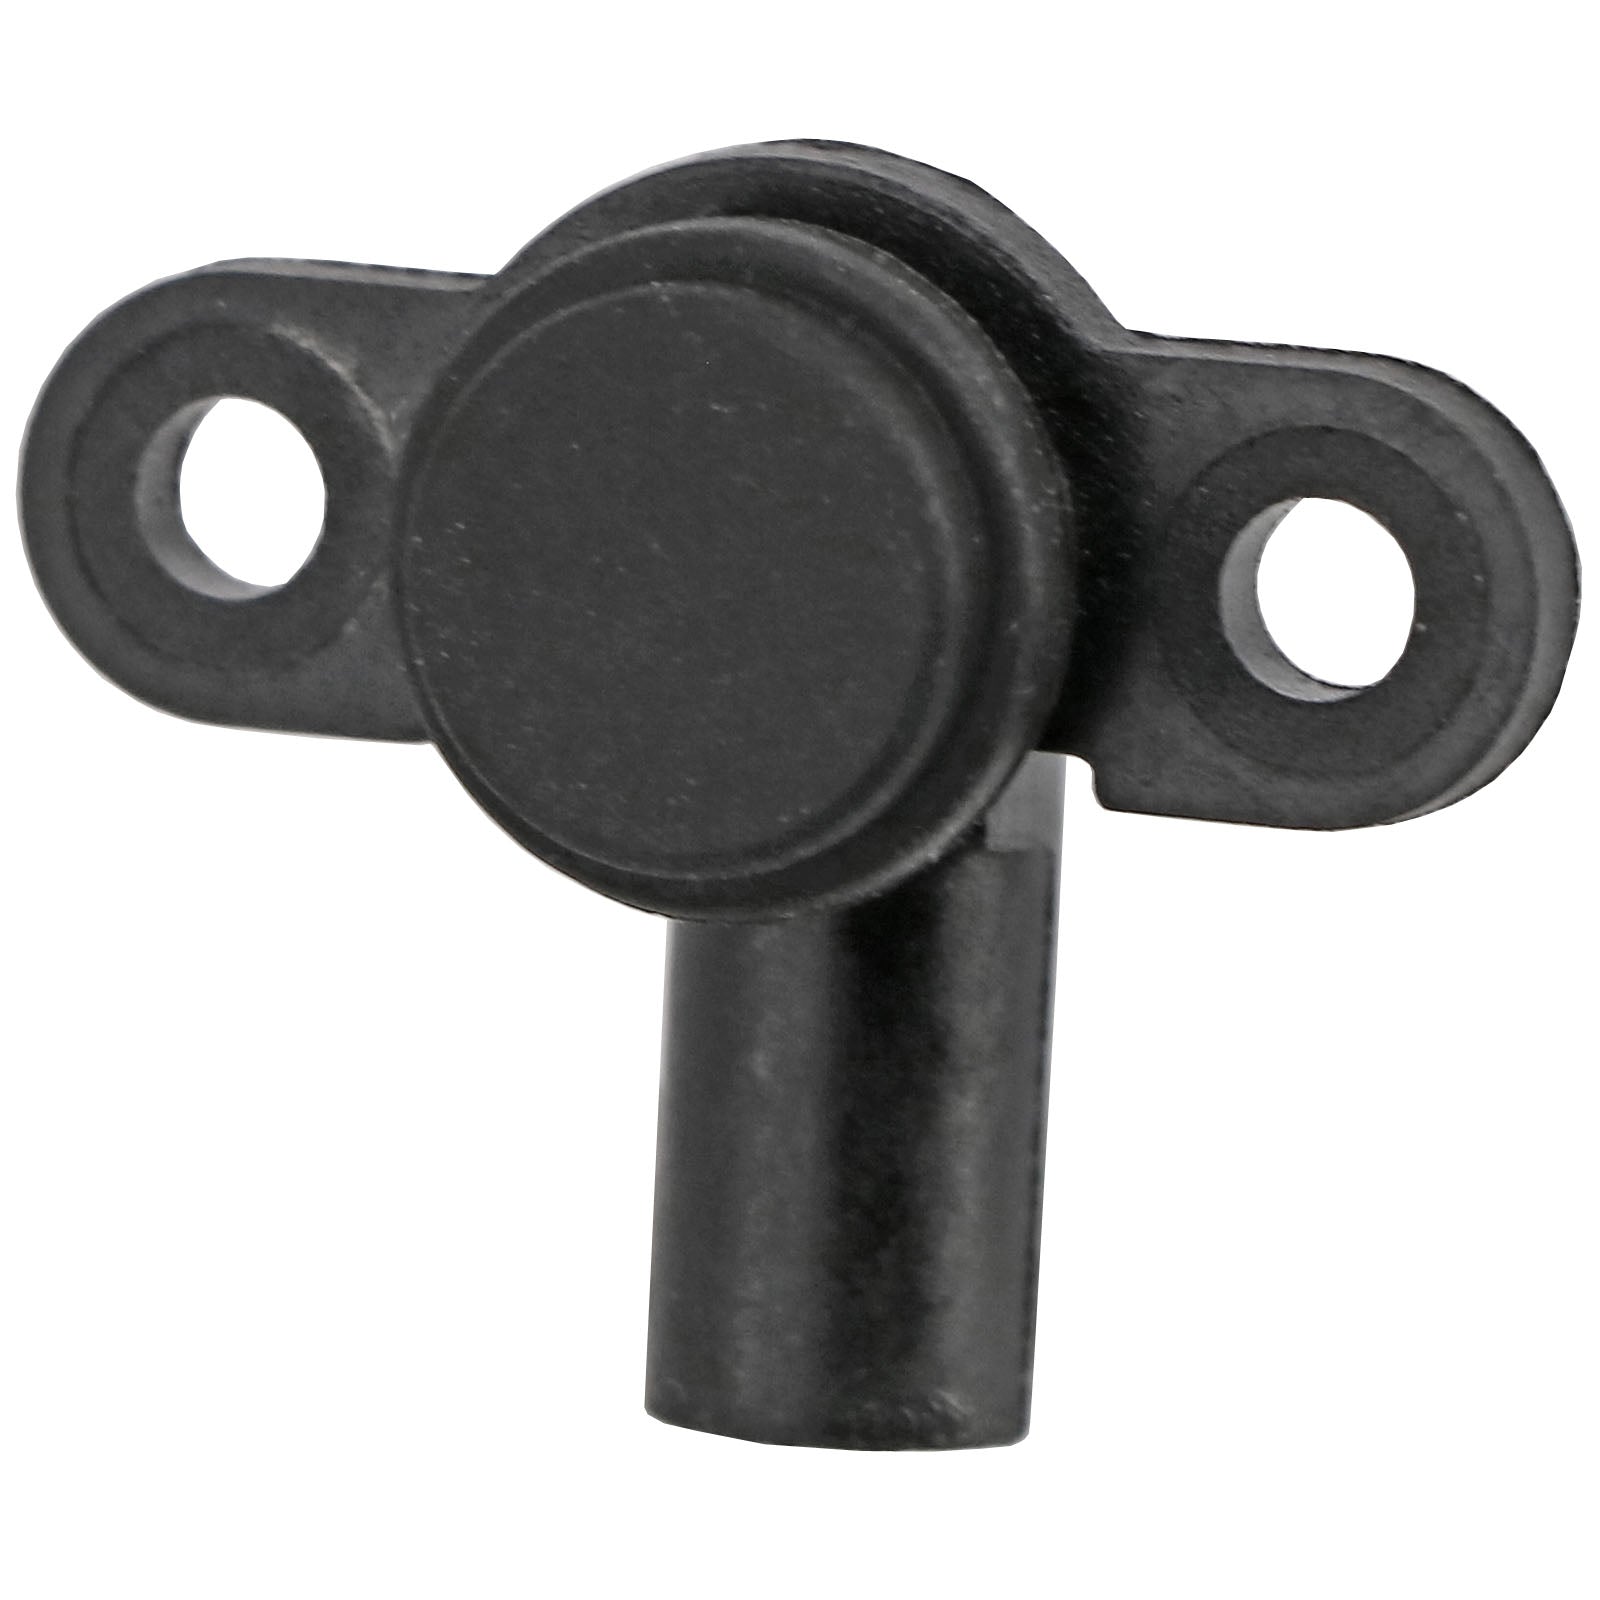
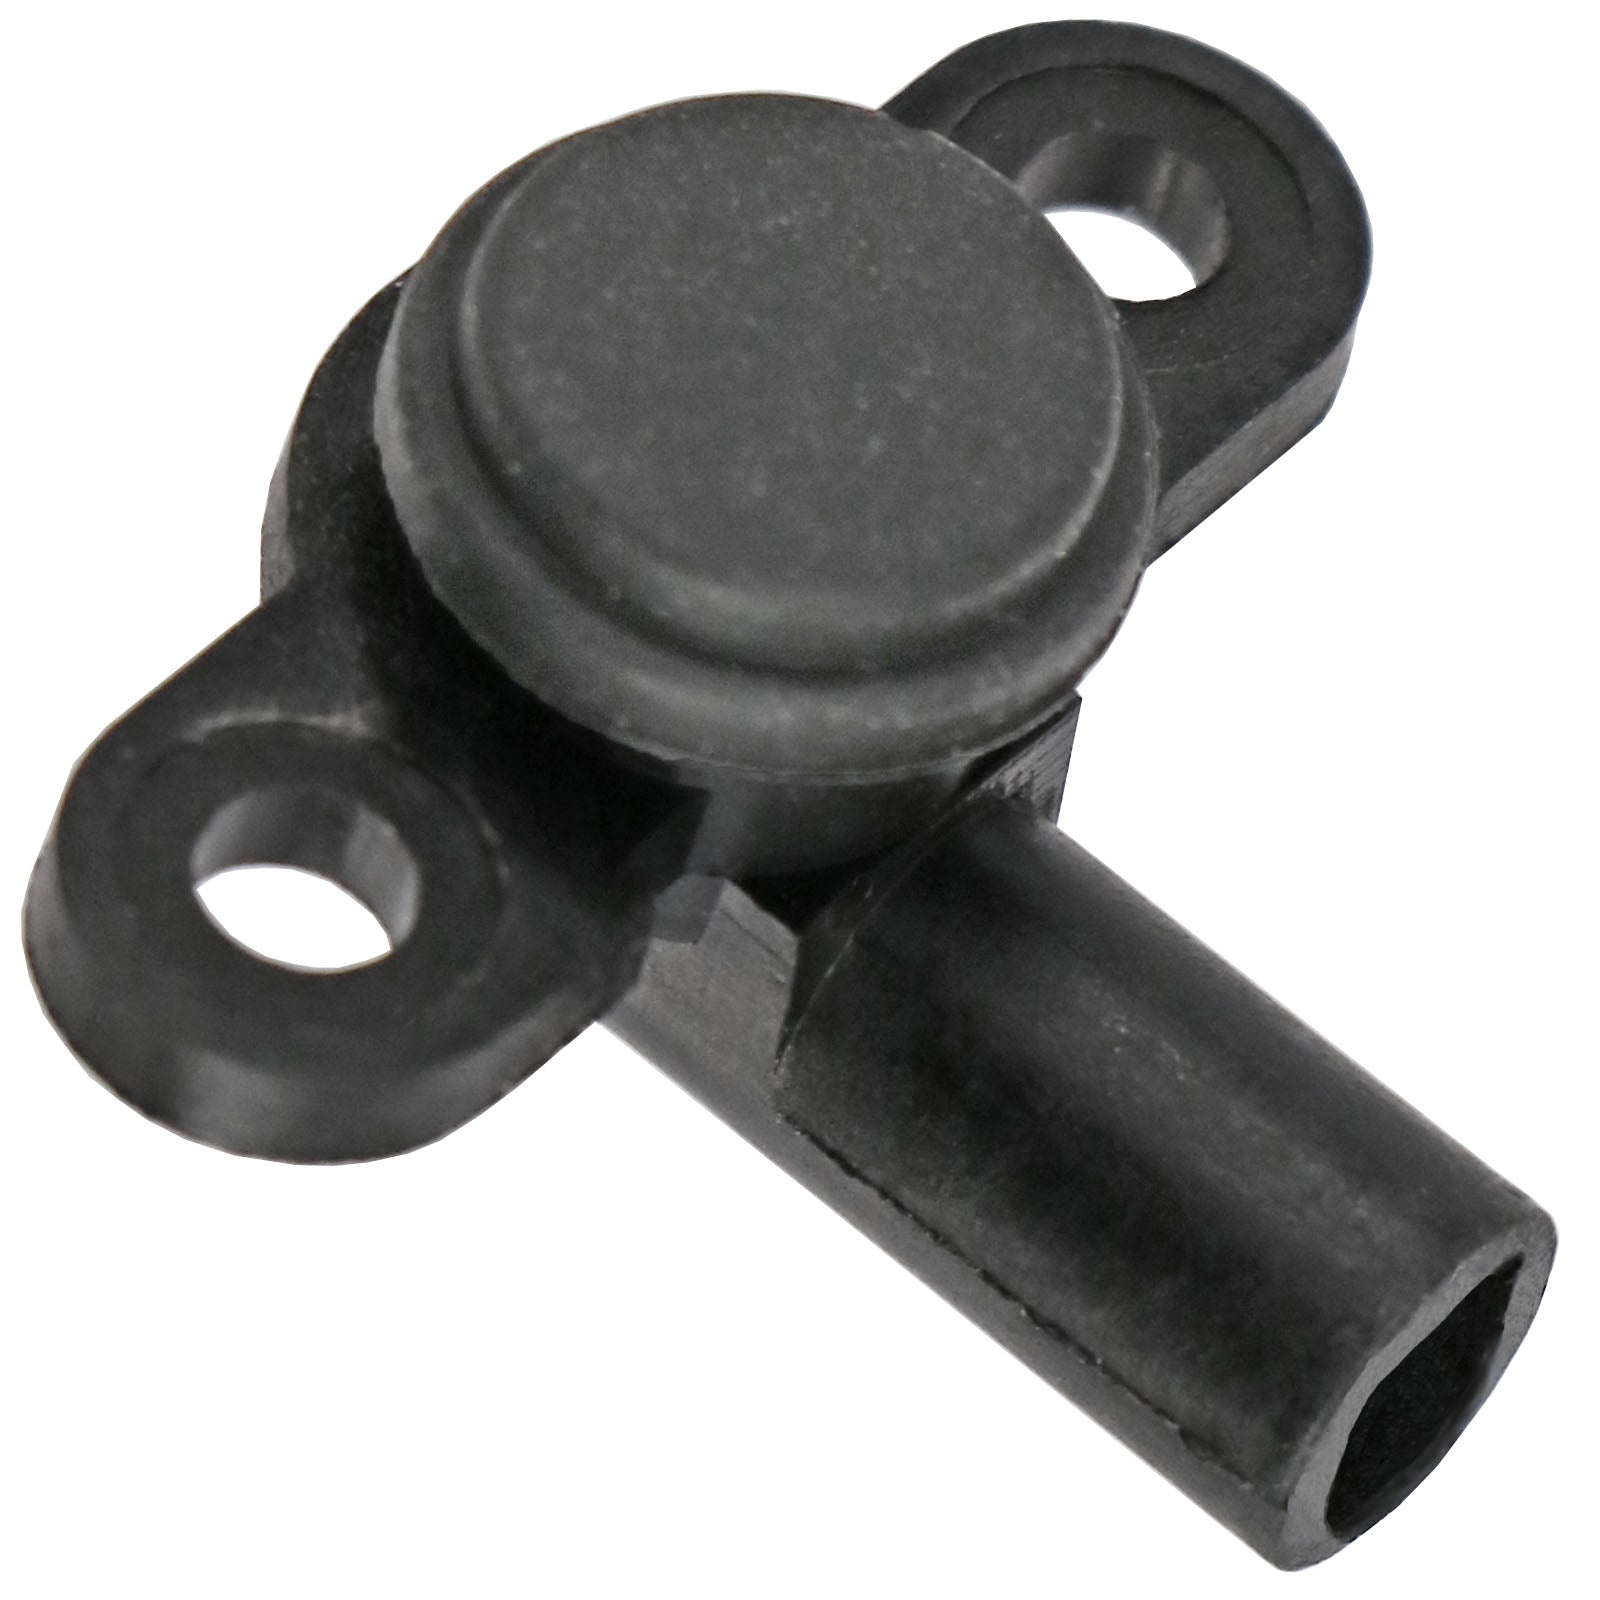
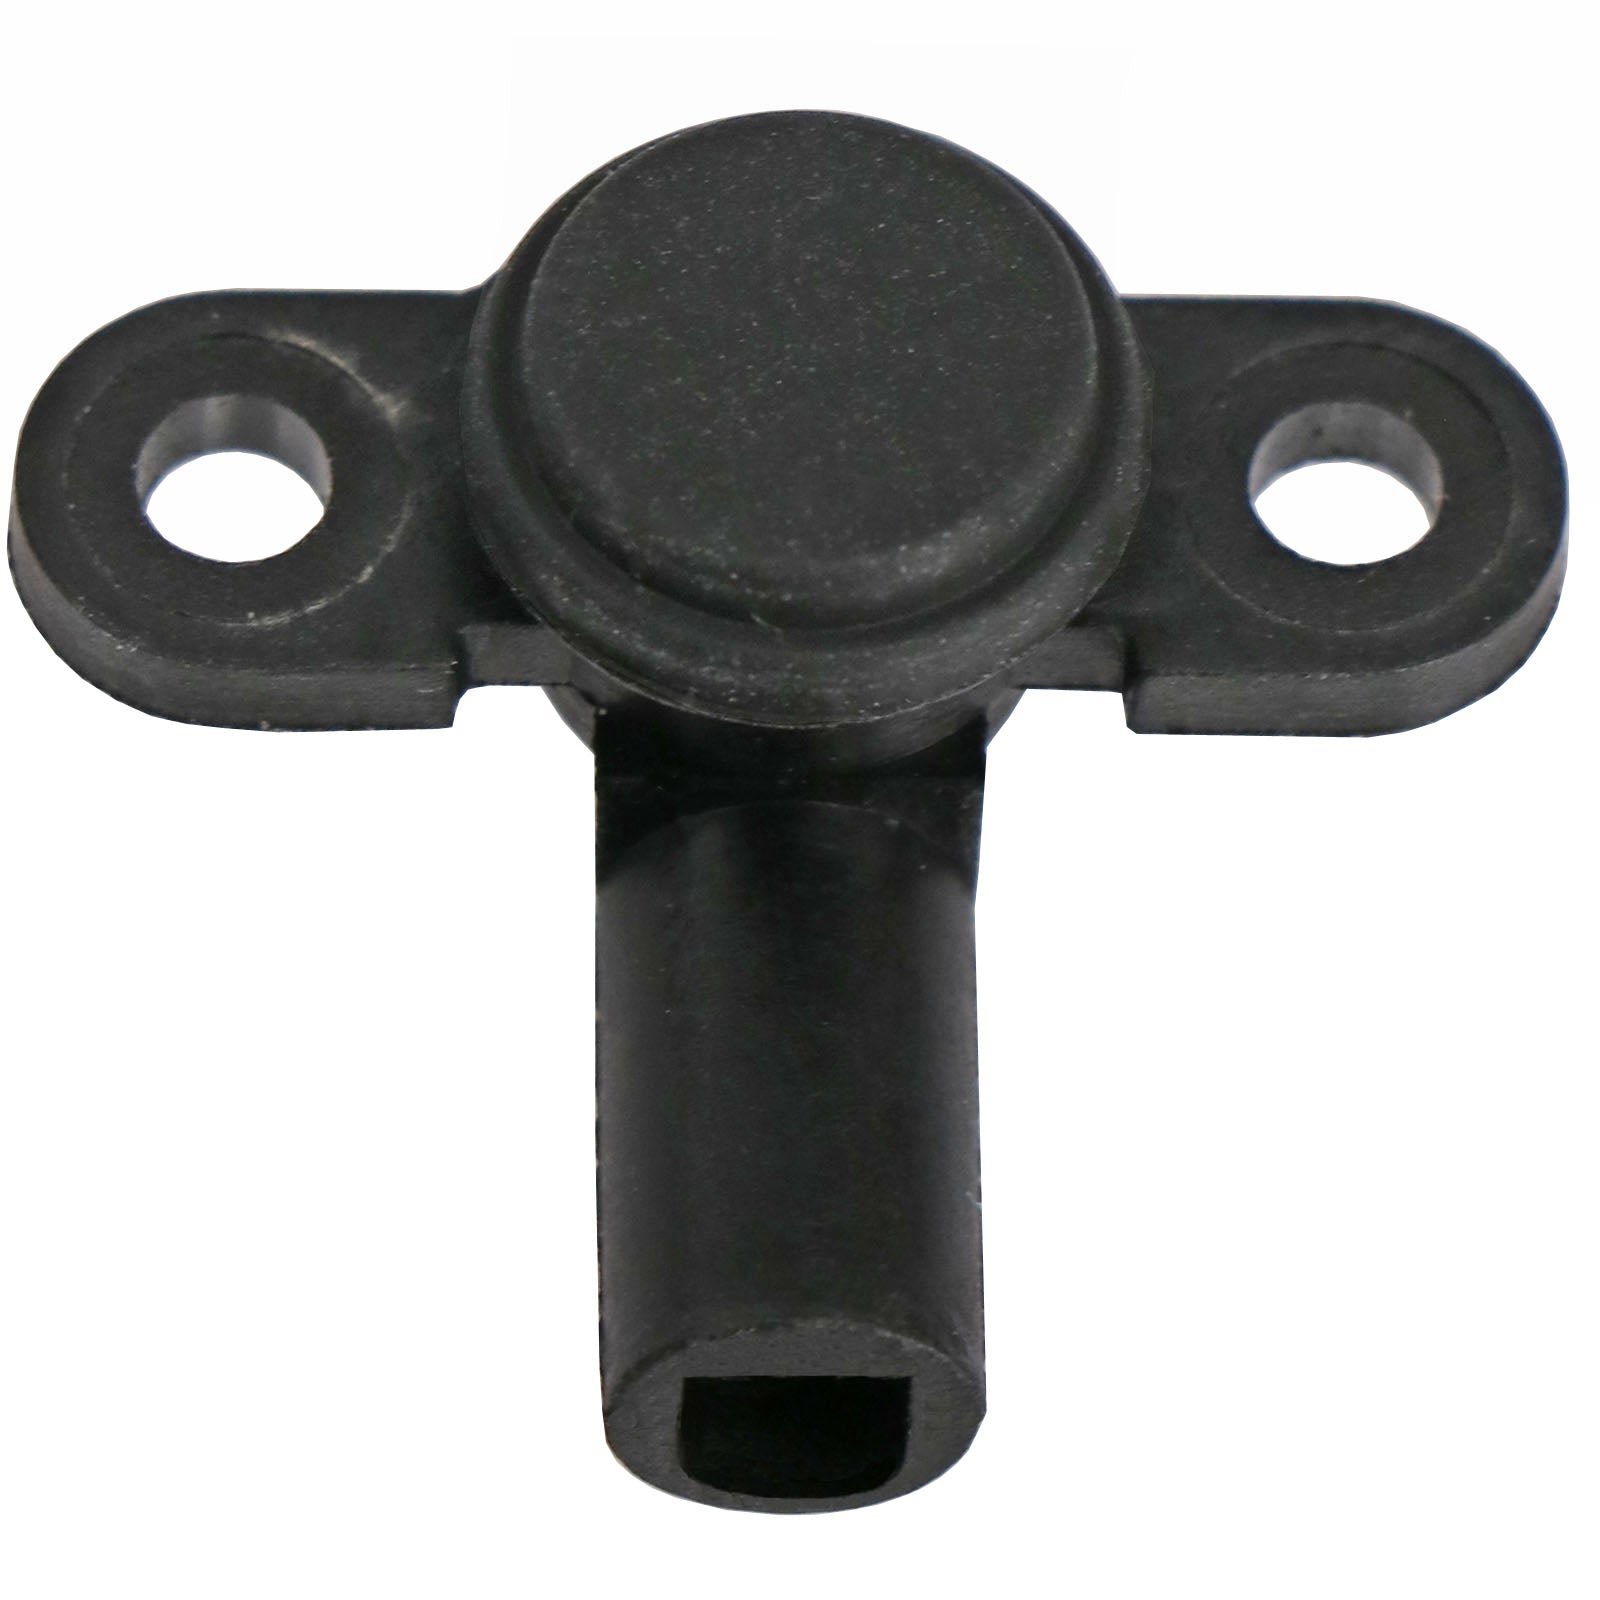
If your electric shower has just stopped, with no water or your low pressure light is on, this solenoid coil restores water flow. A pressure relief device (PRD) is a safety feature installed in electric showers. If heated water fails to escape through the shower head due to a blockage, the PRD will blow, thereby allowing the water to escape through an outlet pipe before it causes damage to the heating tank. ***A PRD cannot be reset once it bursts and must be replaced.***
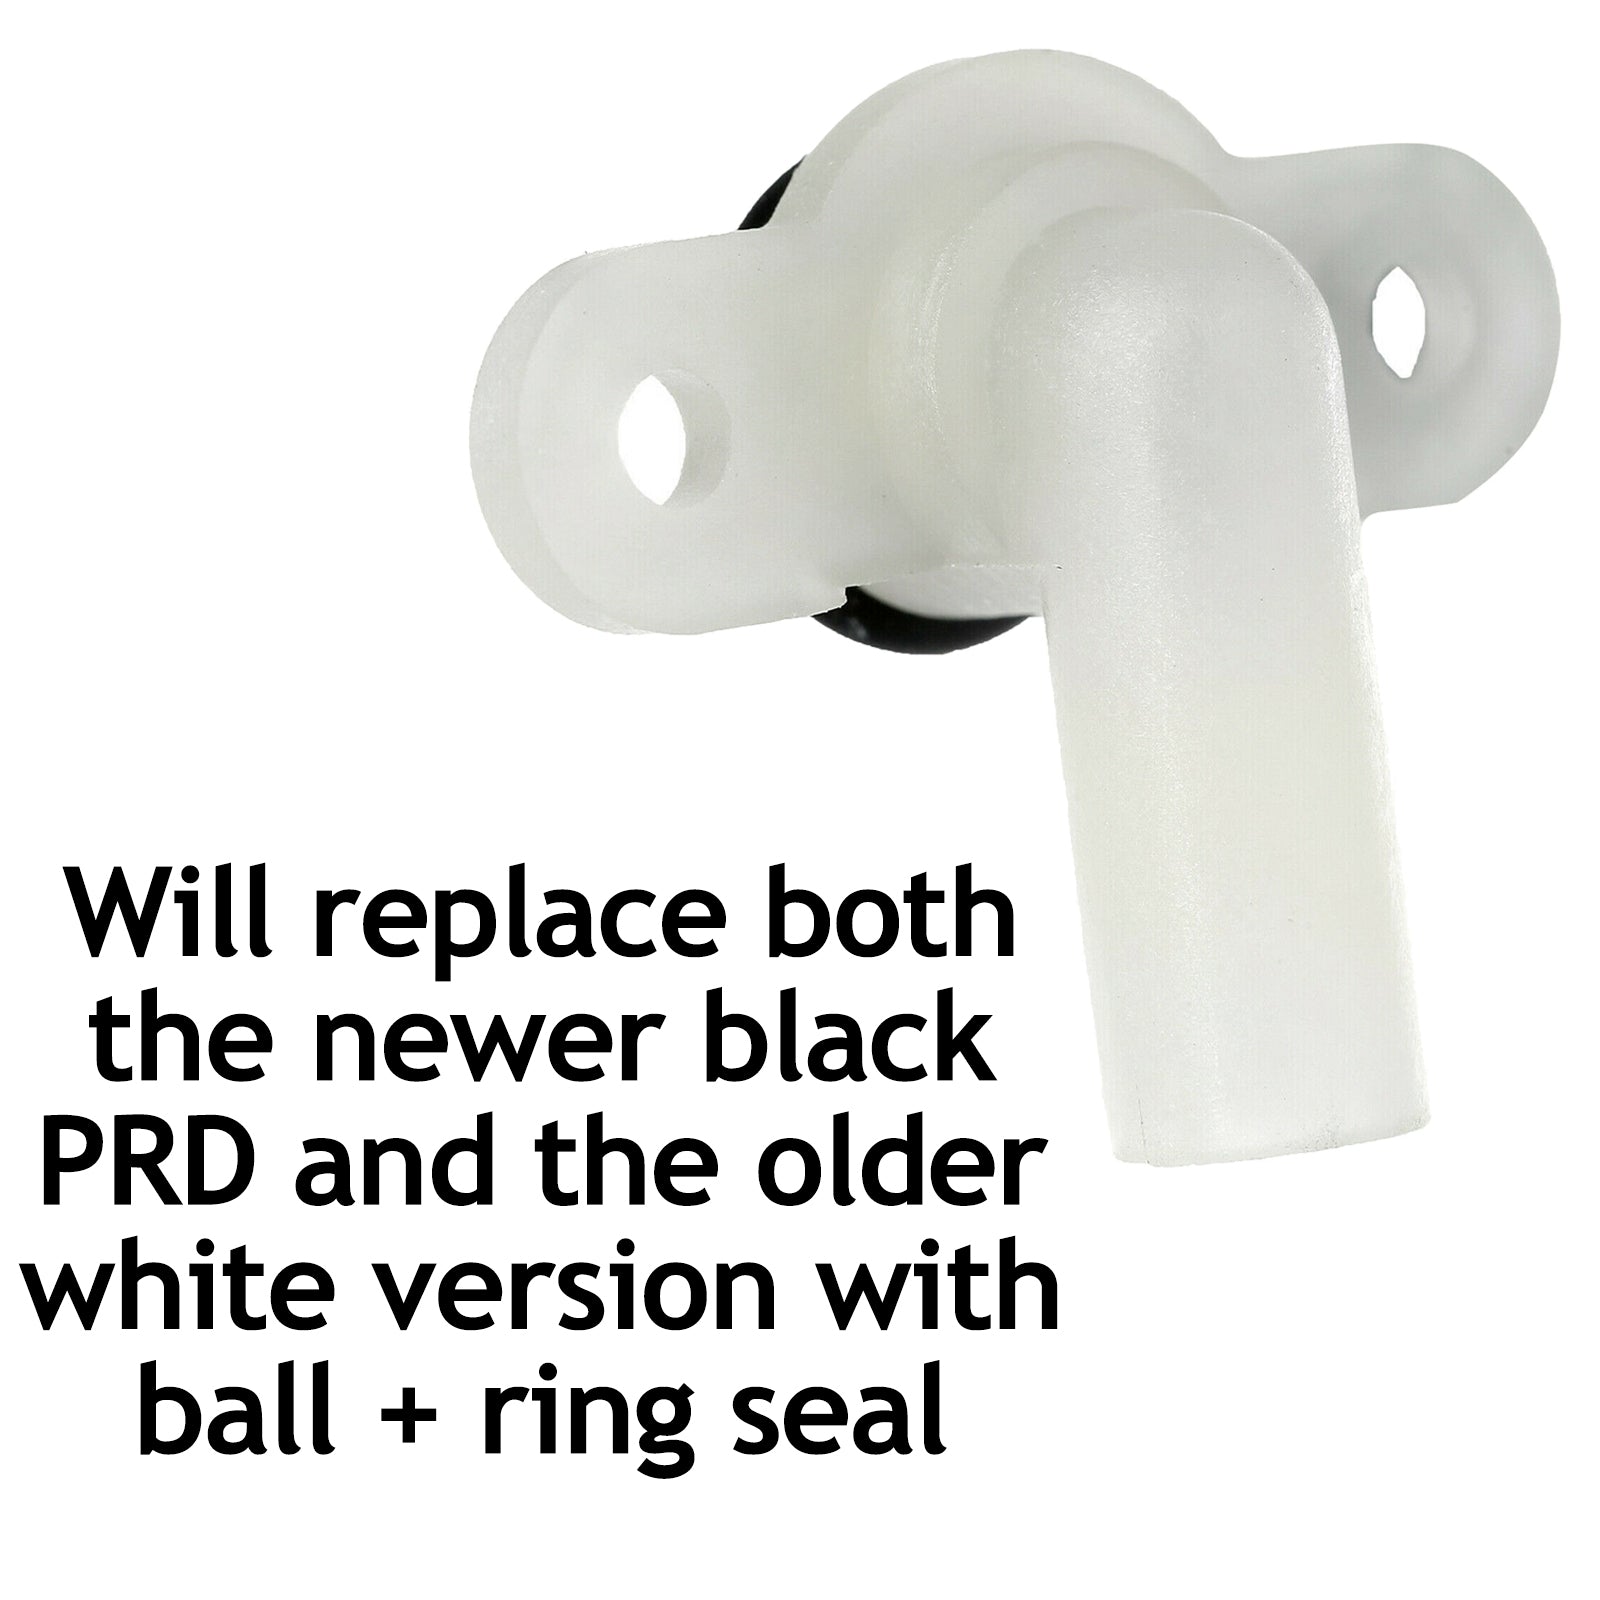
This black PRD can be used to replace the older, cream coloured PRD with rubber ball and ring seal as well as the newer black PRD installed on most new Triton showers.
Kit Includes:
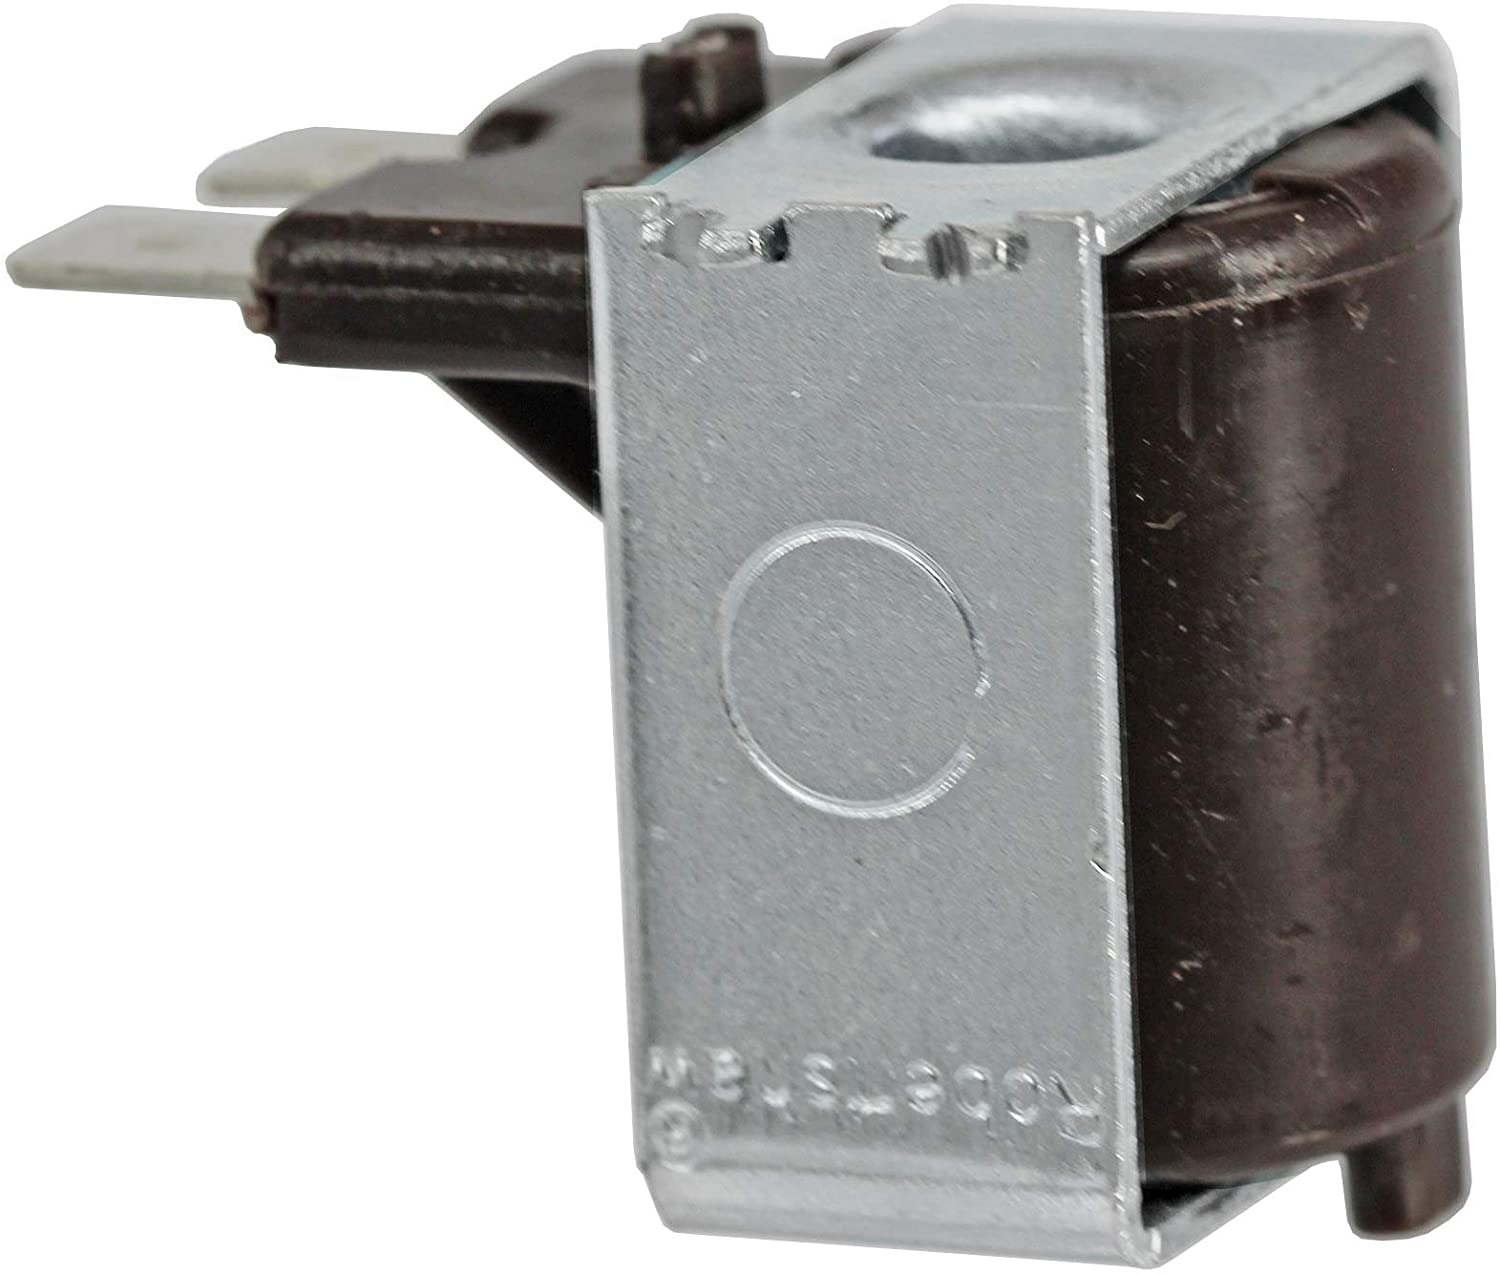
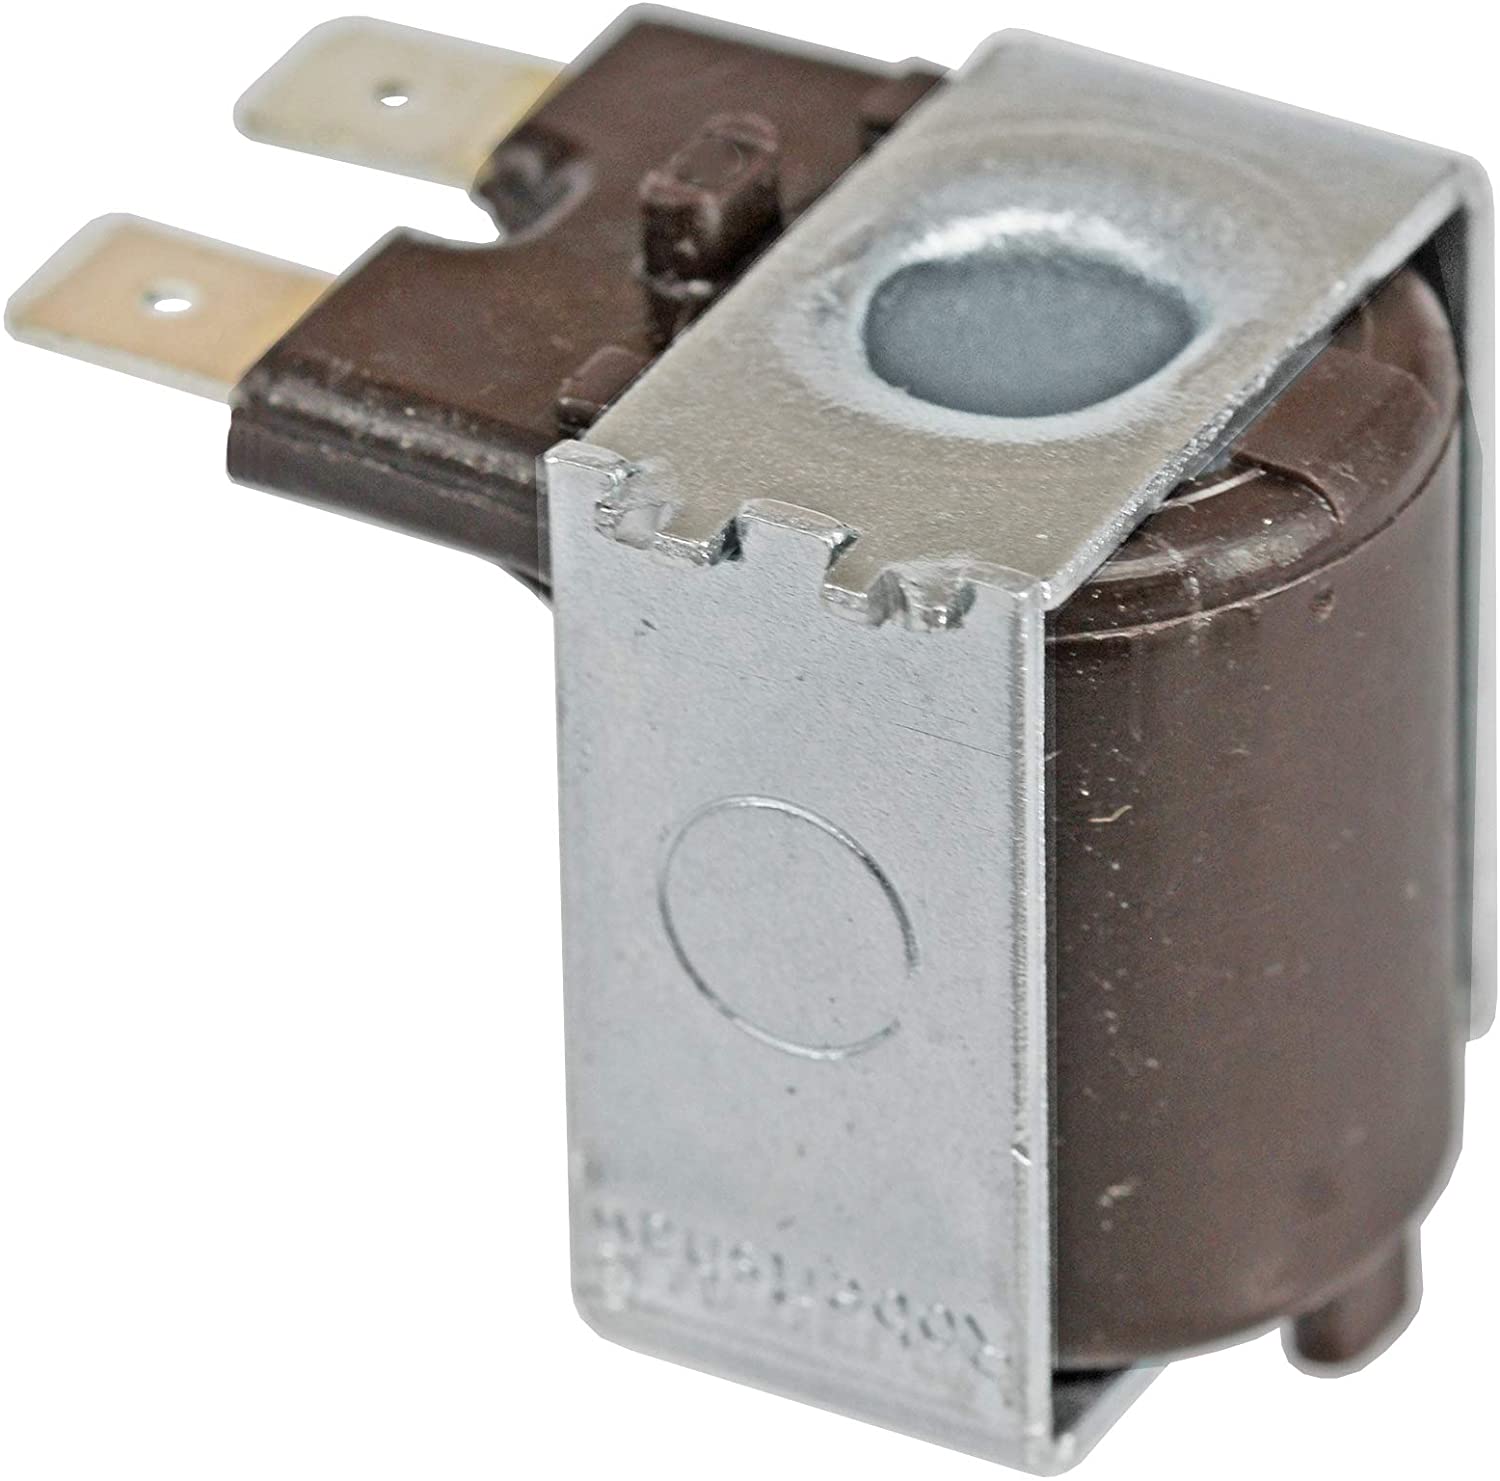
1 x Solenoid Coil
1 x Pressure Relief Device (PRD)
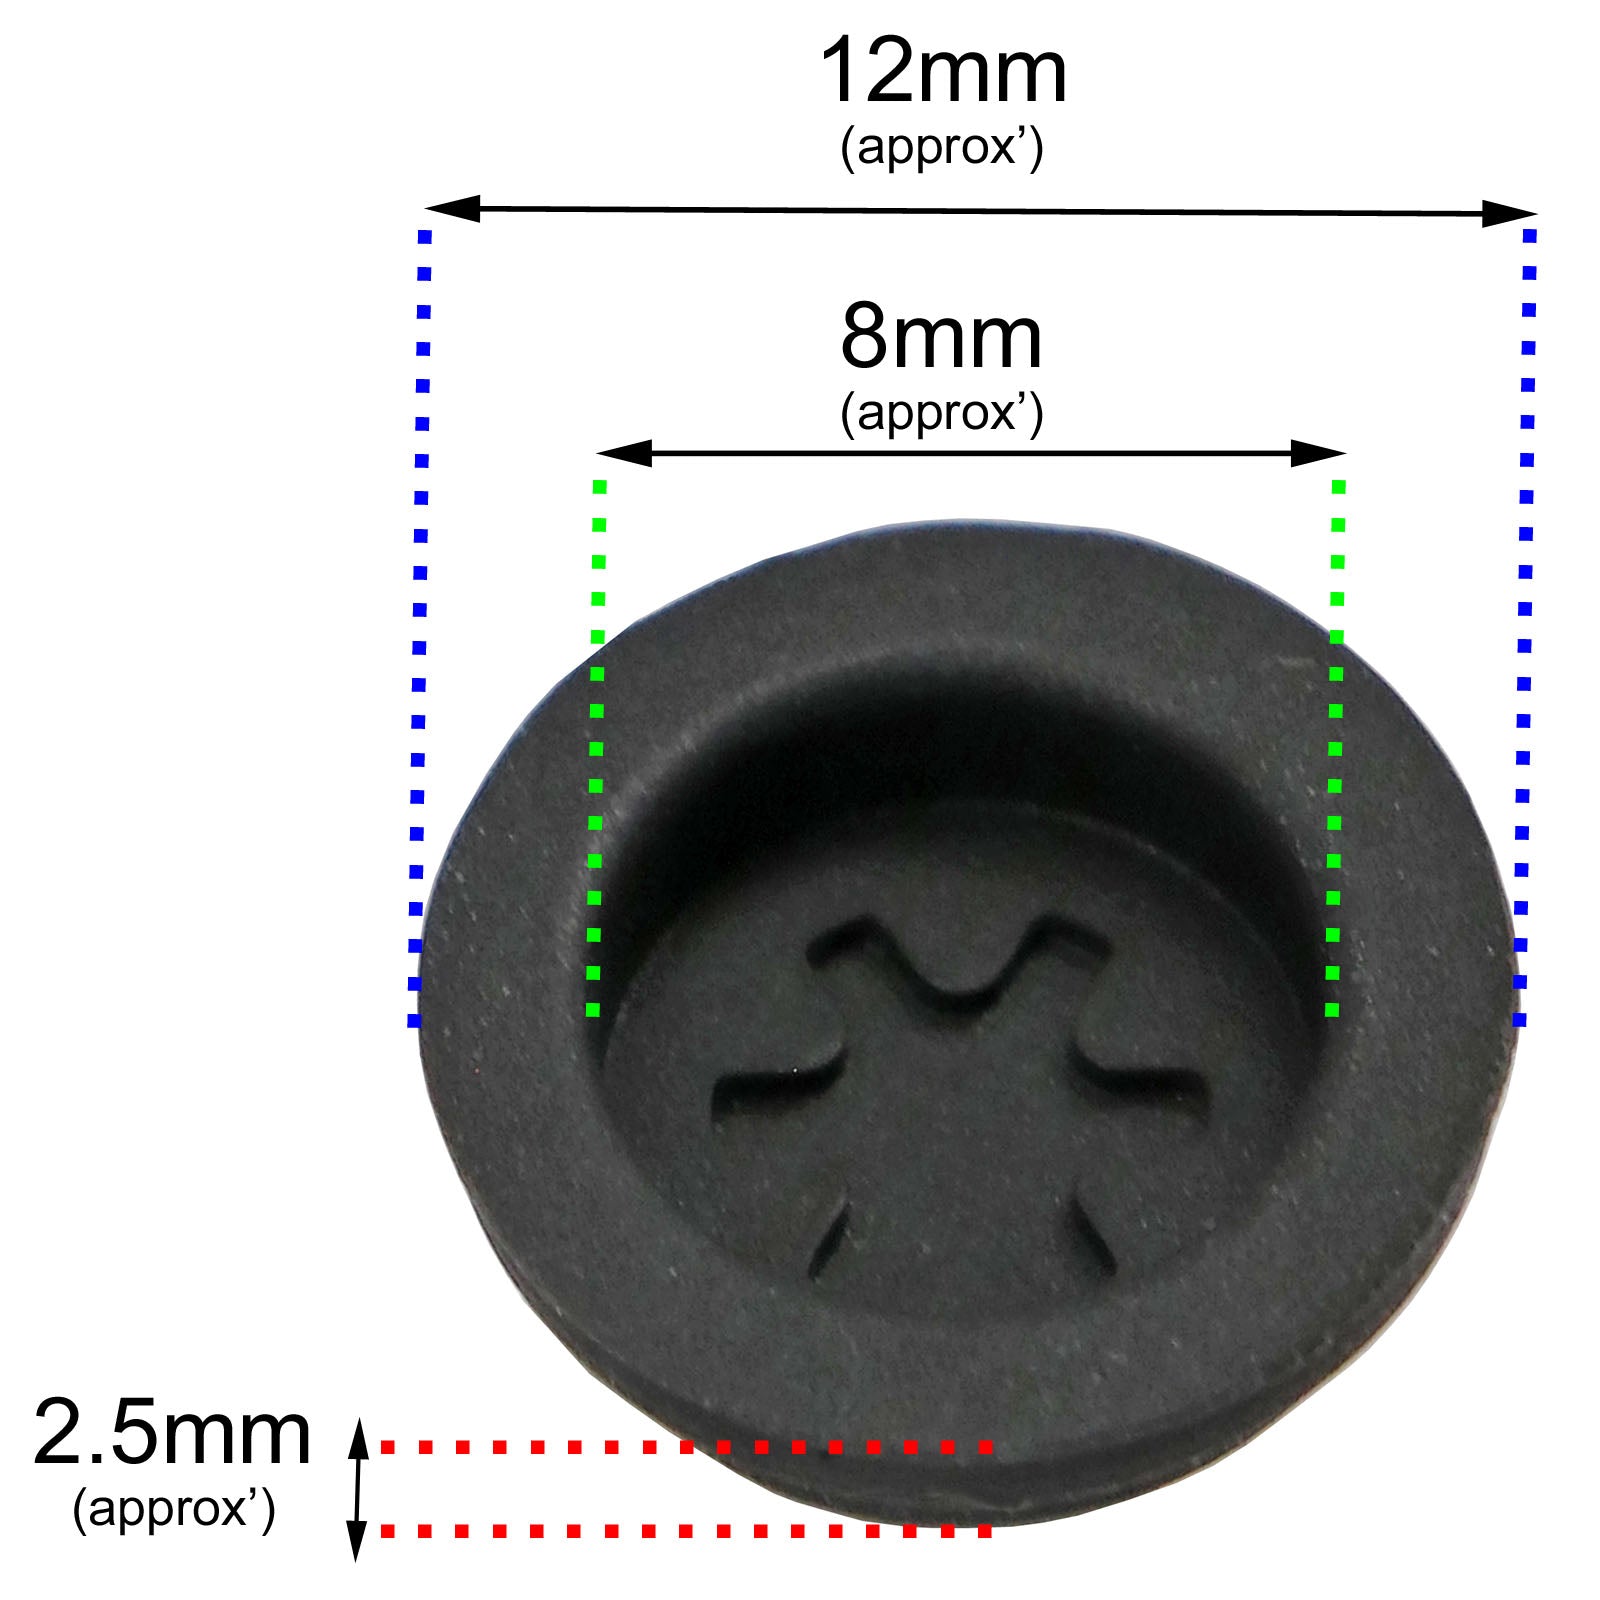
1 x Burst Disc Seal
Fits models:
TRITON
Fits the vast majority of all Triton electric showers - including (but not limited to) these specific models:
Aquatronic 4 Plus, Agio, Alicante, Amber (All Models), Amber 3, Aquablast, Aquastorm, Aquasurge, Aquatronic (All Models), Aquatronic 1 Plus, Aquatronic 2, Aquatronic 2 Plus, Aquatronic 2 Ultra, Aquatronic 3, Aquatronic 3 Plus, Aquatronic 3 Ultra, Aquatronic 4, Aquatronic 4 Plus, Aquatronic 4 Ultra, Aspirante, Aspirante Electric, Aspirante Millenium, Aspirante Millennium, Aspirante Remote, Aspirante Topaz, Aspirante Wireless Remote, Aspirante Xr, Aviva, Barbados, Belize, Bermuda, Bewitch, Bezique, Bezique 2, Biarritz, Biarritz 2, Biscay, Biscay 2, Biscay II, Cara, Carino, Caselona, Caselona 2, Caselona 3, Caselona II, Collections, Colourwave, Colourwave Remote, Desire, Enchant, Enlight, Enrich, Entice, Excite, Excite Eco, Forte, Hawaii, Inscriptions, Ivory, Ivory (All Models), Ivory 2, Ivory 3, Ivory 4, Ivory 4 MK2, Ivory III, Jade (All Models), Jade 2, Jade 3, Jade II, Jade III, Jewel, Kito, Madrid, Madrid 2, Marbella, Martinique, Millenium, Millenium Care, Millennium Care, Millennium Thermostatic, Monaco, Opal, Opal (All Models), Opal 2, Opal 3, Osiris, Passion, Perea, Perluso, Pietra, Plasma, Prostyle Plus, Rally, Rapide, Rapide 2, Rapide 2 Plus, Rapide 3, Rapide 3 Plus, Rapide 4, Rapide 4 Plus, Rapide R1, Rapide R2, Rapide R3, Safeguard, Safeguard Care, Safeguard Care Pumped, Safeguard Plus, Safeguard Pumped, Salsa, salsa MK2, Sambada, Serano, Seville, Shannon, Spellbind, T100 XR, T100E, T100e Care, T100e Care Plus, T100e Care Thermostatic, T100e Thermostatic Care, T100EM Care, T100i, T100si, T100XR, T150Z, T150Z Pumped, T300i, T300Si, T300si Remote, T300si Wireless, T70, T70GSI, T70I, T70Si, T70xr, T70Z, T75, T80, T80 XR, T80GSI, T80i, T80Si, T80SI Extra, T80SI Pumped, T80xr, T80xr Eco, T80Z, T80z Fast Fit, T80Z MK2, T80z Slimline, T80Z Thermostatic, T90 (All Models), T900PI, T90SI, T90xr, Topaz (All Models), Topaz T100si, Topaz T80SI, Touch, Trance, Trance 2, Trance MK2, TX8500I, W8500, Wickes Aquatronic 2, Wickes Aquatronic 4, Wickes MK1, Wickes MK2, Wickes W8500, Zante, Zante 2, Zante 3, Zante II, Zante III + many more...
How To Install:
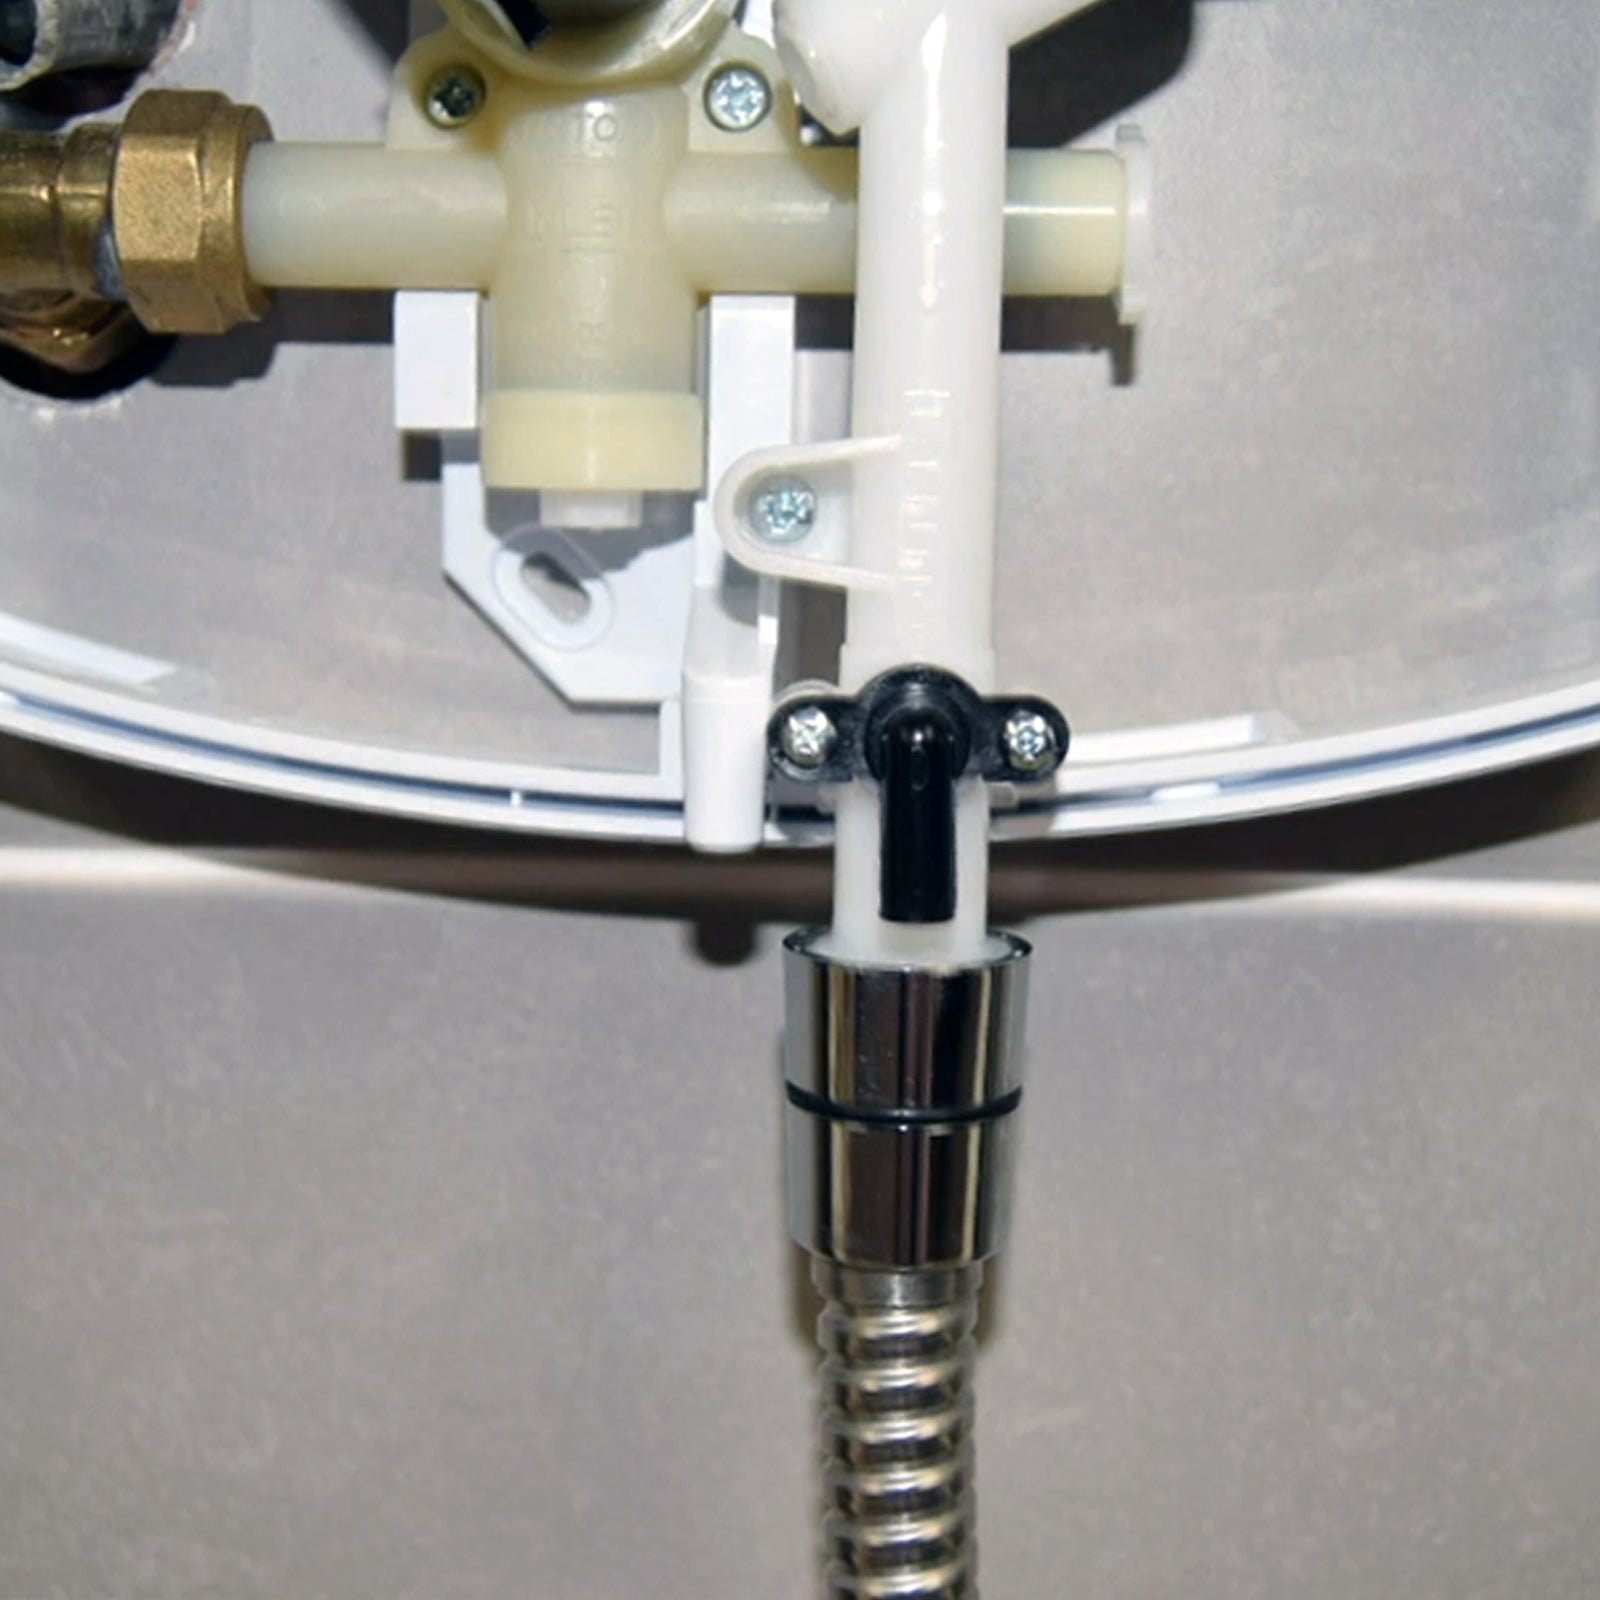
To install the PRD, first remove the shower hose & unscrew the outlet pipe. When you've removed the screws, twist & pull to remove and you'll find the PRD, which is attached to the outlet pipe with 2 screws. Unscrew from pipe & discard. Ensure your new PRD has the burst disc firmly attached, then press into place & screw on to outlet pipe. Refit hose & cover. Set the temperature of your shower to cold before you run it for the first time after replacing the PRD to allow the heating tank to refill, ensuring you don't damage the elements.
To install the solenoid coil, first remove the 2 connectors from the old solenoid coil, typically situated at the base of the shower unit. Ease it forward using a flathead screwdriver until the coil is free. Push the new solenoid coil into place & attach the 2 connectors to the terminals.
***Please note: all dimensions indicated in this ad are approximate and may vary slightly from indicated measurements. They are included as a guide to assist you in selecting the right part for your machine***
This product is is designed to be compatible with Triton machines and is not the original part. The name, model names and any part numbers of the original manufacturer(s) have been used for reference purposes only and are in no way associated with the original manufacturer.
Payment & Security
Your payment information is processed securely. We do not store credit card details nor have access to your credit card information.

